How to Condense Long Videos for Engaging Content Creation

Everyone wants to make long videos easier to watch and share. Editing them down sounds simple, yet most people end up with awkward cuts or lose the important stuff. The real secret is that using text overlays can boost how much viewers retain from your video and make your message stick faster than just trimming for time. Find out how the smartest creators use strategic steps to deliver impact in half the length.
Table of Contents
- Step 1: Identify Your Key Objectives For Condensing
- Step 2: Gather Tools Required For Video Editing
- Step 3: Import Your Video Into Editing Software
- Step 4: Trim And Cut Unnecessary Footage
- Step 5: Add Visual Enhancements And Summaries
- Step 6: Export And Review The Final Output
Quick Summary
| Key Point | Explanation |
|---|---|
| 1. Define your condensation objectives | Clearly identify goals for video condensation to guide strategic editing decisions and focus on essential content. |
| 2. Select the right editing tools | Choose editing software based on your skill level and project needs, ensuring it simplifies the condensing process without added complexity. |
| 3. Organize your files before importing | Ensure that video files are stored in dedicated folders to facilitate efficient editing and avoid technical issues during the import process. |
| 4. Trim footage meticulously | Remove unnecessary segments while preserving the core message; every edit should serve a clear purpose to maintain viewer engagement. |
| 5. Optimize visual enhancements | Use text overlays and graphics to clarify key points, aiding viewer comprehension and retention without overwhelming the primary content. |
Step 1: Identify Your Key Objectives for Condensing
Before diving into video condensation, you need a clear roadmap of what you want to achieve. Your objectives will determine every subsequent decision in creating engaging, concise content. Understanding your specific goals transforms the condensing process from a random editing exercise into a strategic content creation approach.
Effective video condensation starts with defining your core purpose. Are you creating a learning resource, summarizing a complex presentation, generating marketing material, or sharing key insights from a lengthy lecture? Each objective requires a slightly different condensation strategy. For instance, an educational summary needs to preserve critical learning points, while a marketing clip might focus on creating emotional engagement in a short timeframe.
Mapping Your Content Strategy
To successfully identify your objectives, begin by carefully analyzing your original video. Watch the entire content and take notes on the core message, key arguments, and most compelling segments. Look for moments that truly represent the video’s essence. Your goal is to distill the video down to its most impactful elements. This might mean preserving technical explanations in an educational video or highlighting emotional peaks in a storytelling context.
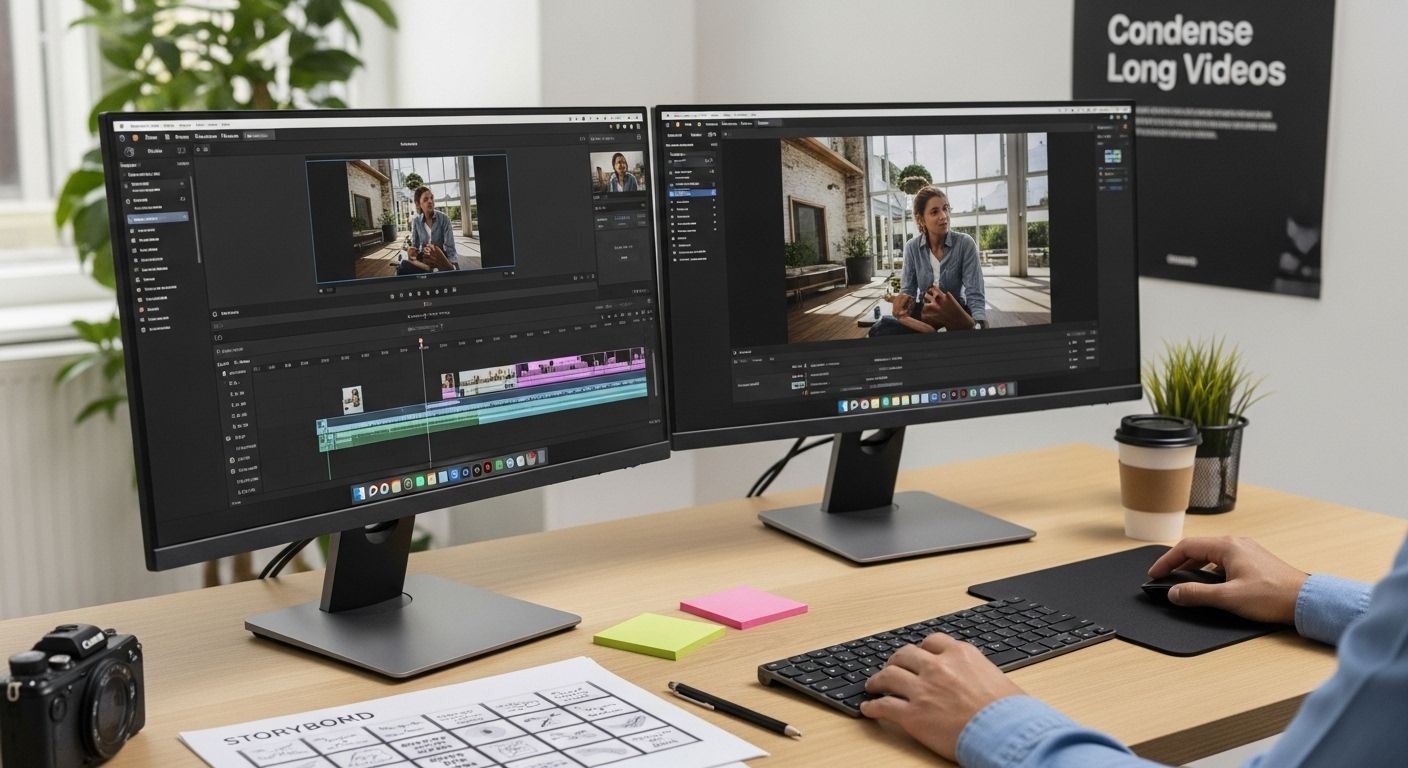
According to Columbia University’s Center for Teaching and Learning, developing a clear storyboard or content map helps creators intentionally structure their condensed material. This approach ensures you capture the original video’s fundamental value while creating a more digestible version.
Verification and Assessment
Once you’ve outlined your objectives, verify your condensation strategy by asking these critical questions:
- Does this condensed version communicate the original video’s primary message?
- Would someone unfamiliar with the original content understand the key points?
- Have I preserved the most critical information and emotional resonance?
Successful objective identification means you can confidently move forward, knowing your condensed video will deliver maximum impact with minimum viewing time.
Step 2: Gather Tools Required for Video Editing
Choosing the right tools can make or break your video condensation process. While professional editing suites might seem appealing, the best tool is one that matches your skill level, technical capabilities, and specific project requirements. Your objective is to find software that simplifies the condensing process without creating unnecessary complexity.
Begin by assessing your current technological setup. Do you have a computer with sufficient processing power and storage? Most modern laptops and desktops can handle basic video editing tasks. Consider your operating system compatibility when selecting editing software, as some programs work exclusively with Windows or Mac platforms.
Selecting Your Video Editing Arsenal
For content creators seeking straightforward solutions, several user-friendly options exist. Free tools like OpenShot and DaVinci Resolve offer robust editing capabilities without financial investment. These platforms provide essential features like trimming, cutting, and basic transitions that are crucial for condensing videos effectively.
Professional creators might prefer paid solutions such as Adobe Premiere Pro or Final Cut Pro X, which offer advanced editing capabilities. However, these tools come with steeper learning curves and monthly subscription costs. If you’re just starting, begin with more accessible options and upgrade as your skills and needs evolve.
Consider supplementing your primary editing software with complementary tools. Screen recording software like OBS Studio can help capture additional context, while audio editing tools such as Audacity can refine sound quality during the condensation process.
To help you choose the most suitable video editing tool for condensing your content, here is a comparison of the key options mentioned in the article.
| Tool Name | Cost | Skill Level | Platforms | Key Features |
|---|---|---|---|---|
| OpenShot | Free | Beginner | Windows, Mac, Linux | Trimming, cutting, basic transitions |
| DaVinci Resolve | Free/Tiered | Beginner-Advanced | Windows, Mac, Linux | Trimming, advanced effects, color correction |
| Adobe Premiere Pro | Paid | Intermediate-Advanced | Windows, Mac | Industry-standard editing, advanced capabilities |
| Final Cut Pro X | Paid | Intermediate-Advanced | Mac | Advanced editing, user-friendly Mac integration |
| OBS Studio | Free | Beginner | Windows, Mac, Linux | Screen recording, live streaming |
| Audacity | Free | Beginner | Windows, Mac, Linux | Audio editing, noise reduction |
Verification and Preparation
Before proceeding, ensure you have completed these preparatory steps:
- Confirm your computer meets the minimum system requirements for your chosen editing software
- Download and install the selected video editing tool
- Watch tutorial videos specific to your chosen software
- Practice basic editing functions like trimming and cutting
By methodically selecting and familiarizing yourself with the right tools, you’ll set a strong foundation for transforming lengthy videos into engaging, concise content.
To verify and keep your editing workflow on track, consult this checklist summarizing the essential verification and preparation steps before you begin condensing your video.
| Step | Description |
|---|---|
| Check system requirements | Ensure your computer meets software minimum needs |
| Install video editing tool | Download and install your chosen editing software |
| Review tutorials | Watch basic tutorial videos relevant to your selected tool |
| Practice basic edits | Try common editing tasks such as trimming and cutting |
| Validate hardware and file structure | Confirm your storage and folders are ready for efficient project setup |
Step 3: Import Your Video into Editing Software
Importing your video is the critical bridge between raw footage and your condensed final product. This step transforms your original recording from a passive file into an active editing project. The import process might seem straightforward, but attention to detail can prevent potential technical headaches and workflow disruptions.
Proper file organization is your first line of defense against confusion and potential data loss. Before clicking that import button, ensure your original video file is saved in a dedicated, easily accessible folder. Avoid working directly from external drives or cloud storage, as this can cause performance issues and potential file corruption during the editing process.
Navigating the Import Process
Most video editing software offers multiple import methods. In programs like Adobe Premiere Pro or Final Cut Pro, you can typically drag and drop your file directly into the project window, use the import menu, or utilize the file browser function. Pay close attention to your software’s specific import settings. Some programs allow you to choose import preferences such as creating optimized media files, which can improve playback performance for larger or high-resolution videos.
According to University of Kentucky’s technology guidelines, creating a structured project folder before importing helps maintain organizational clarity. This means grouping all related project files together, including your original video, any supplementary audio, graphics, or additional footage you might want to incorporate during the condensing process.
Verification and Troubleshooting
Once you’ve imported your video, perform these quick checks to ensure a successful import:
- Confirm the video plays smoothly within the editing software
- Verify the video’s resolution and frame rate match your project settings
- Check that audio is synced and clear
- Ensure no portion of the video appears corrupted or pixelated
If you encounter any import issues, try converting your video to a more universally compatible format like MP4 using free conversion tools. Remember, a smooth import sets the stage for efficient and effective video condensation.
Step 4: Trim and Cut Unnecessary Footage
Trimming unnecessary footage transforms a lengthy recording into a sharp, engaging video that captures viewers’ attention. This crucial editing phase requires a strategic approach, balancing the removal of extraneous content with preserving the video’s core message and emotional resonance.
Your primary goal is surgical precision. Think of video editing like sculpting a masterpiece from a raw block of material. Every cut should serve a deliberate purpose, whether eliminating tangents, removing technical glitches, or streamlining narrative flow. Start by watching your entire video critically, identifying segments that do not directly contribute to your core objectives.
Strategic Editing Techniques
Begin by marking potential removal points during your initial review. Look for common unnecessary elements like extended pauses, repetitive explanations, technical interruptions, or meandering conversations. Most editing software provides intuitive trimming tools that allow you to highlight and delete specific segments with simple drag and click actions. Pay special attention to the video’s opening and closing moments, as these are often areas where unnecessary content accumulates.
According to Georgia Tech Library’s video editing guidelines, effective editing involves more than simple deletion. Consider using transition effects or strategic cuts that maintain narrative continuity while reducing overall video length. This approach ensures your condensed video remains coherent and engaging, even after significant content reduction.
Verification and Quality Control
After completing your initial trimming, perform a comprehensive review to ensure your edits maintain the video’s integrity:
- Confirm the video’s key messages remain clear and uncompromised
- Check that audio transitions between cuts sound smooth and natural
- Verify the condensed video’s total runtime matches your original objectives
- Watch the edited video from a viewer’s perspective, ensuring it feels polished and intentional
Remember, successful video condensation is an art of subtraction. Your goal is to create a more concentrated, impactful viewing experience that respects your audience’s time and attention.

Step 5: Add Visual Enhancements and Summaries
Visual enhancements transform a basic video edit into a compelling, professional piece of content. This step is about strategically adding elements that not only make your video more engaging but also help viewers quickly understand and retain key information. Think of these additions as visual signposts that guide your audience through the condensed narrative.
Text overlays are your secret weapon for instant comprehension. By adding concise, well-timed text that highlights key points, you create multiple information channels for viewers. This approach helps people absorb content through both visual and textual means, significantly improving information retention and understanding.
Crafting Strategic Visual Elements
Start by identifying the most critical moments in your condensed video. These are the points where a brief text overlay, graphic, or highlight can provide immediate context. Consider using different font sizes, colors, and styles to differentiate between main points and supplementary information. Animated text that appears and disappears can draw attention without overwhelming the viewer. If your video includes complex concepts, simple icons or infographic-style elements can help break down complicated ideas into digestible visual representations.
According to research from Life Sciences Education, strategic signaling through on-screen text and visual cues can significantly reduce cognitive load and improve viewer comprehension. This means your visual enhancements aren’t just decorative they’re functional tools for better communication.
Verification and Final Touches
Before finalizing your enhanced video, perform these critical checks:
- Ensure text overlays are readable and appear for sufficient duration
- Confirm graphics and text do not obstruct important visual information
- Verify that visual enhancements align with the video’s core message
- Check that added elements improve rather than distract from the content
Remember, the goal of visual enhancements is to clarify, not complicate. Each added element should serve a specific purpose in helping your audience quickly grasp the most important aspects of your condensed video.
Step 6: Export and Review the Final Output
Exporting your condensed video marks the culmination of your editing journey. This final step transforms your carefully crafted project into a shareable, viewable format that will reach your intended audience. The export process is more than just clicking a button it requires strategic decision making about file format, quality, and compatibility.
Choosing the right export settings can make or break your video’s presentation. Different platforms and viewing environments demand specific technical specifications. Consider where your video will be shared YouTube, social media, professional presentations, or personal archives each requires a nuanced approach to file formatting and quality.
Navigating Export Options
Most video editing software offers preset export options tailored to specific platforms. Begin by selecting a high-quality, universally compatible format like MP4 with H.264 encoding. This format provides an excellent balance between file size and visual quality. Pay close attention to resolution settings match your original footage’s quality while considering the viewing context. A 1080p resolution works well for most online platforms, providing crisp visuals without creating unnecessarily large file sizes.
According to Georgia Institute of Technology’s video production guidelines, developing a consistent naming convention for your exported files helps with organization and future retrieval. Create a filename that includes the project name, version, and date, such as “VideoCondensation_Final_20XX” to make future reference easier.
Verification and Quality Assurance
After exporting, perform a comprehensive review of your final video:
- Watch the entire video on multiple devices to ensure consistent quality
- Check audio levels and synchronization
- Verify that all visual enhancements display correctly
- Confirm the video meets your original condensation objectives

Remember, exporting is not just a technical step but the final artistic refinement of your content. Take time to ensure your condensed video tells a compelling, clear story that captures your audience’s attention from start to finish.
Make Every Minute Count: Let SummYT Condense Your Videos Instantly
Feeling overwhelmed by the time it takes to condense long videos for engaging content? Manual trimming, editing, and adding summaries can be tedious, especially when you have hours of footage but only minutes to convey your message. If you are determined to create concise learning resources or compelling highlights, but find traditional editing too slow or repetitive, there is a smarter way to work.
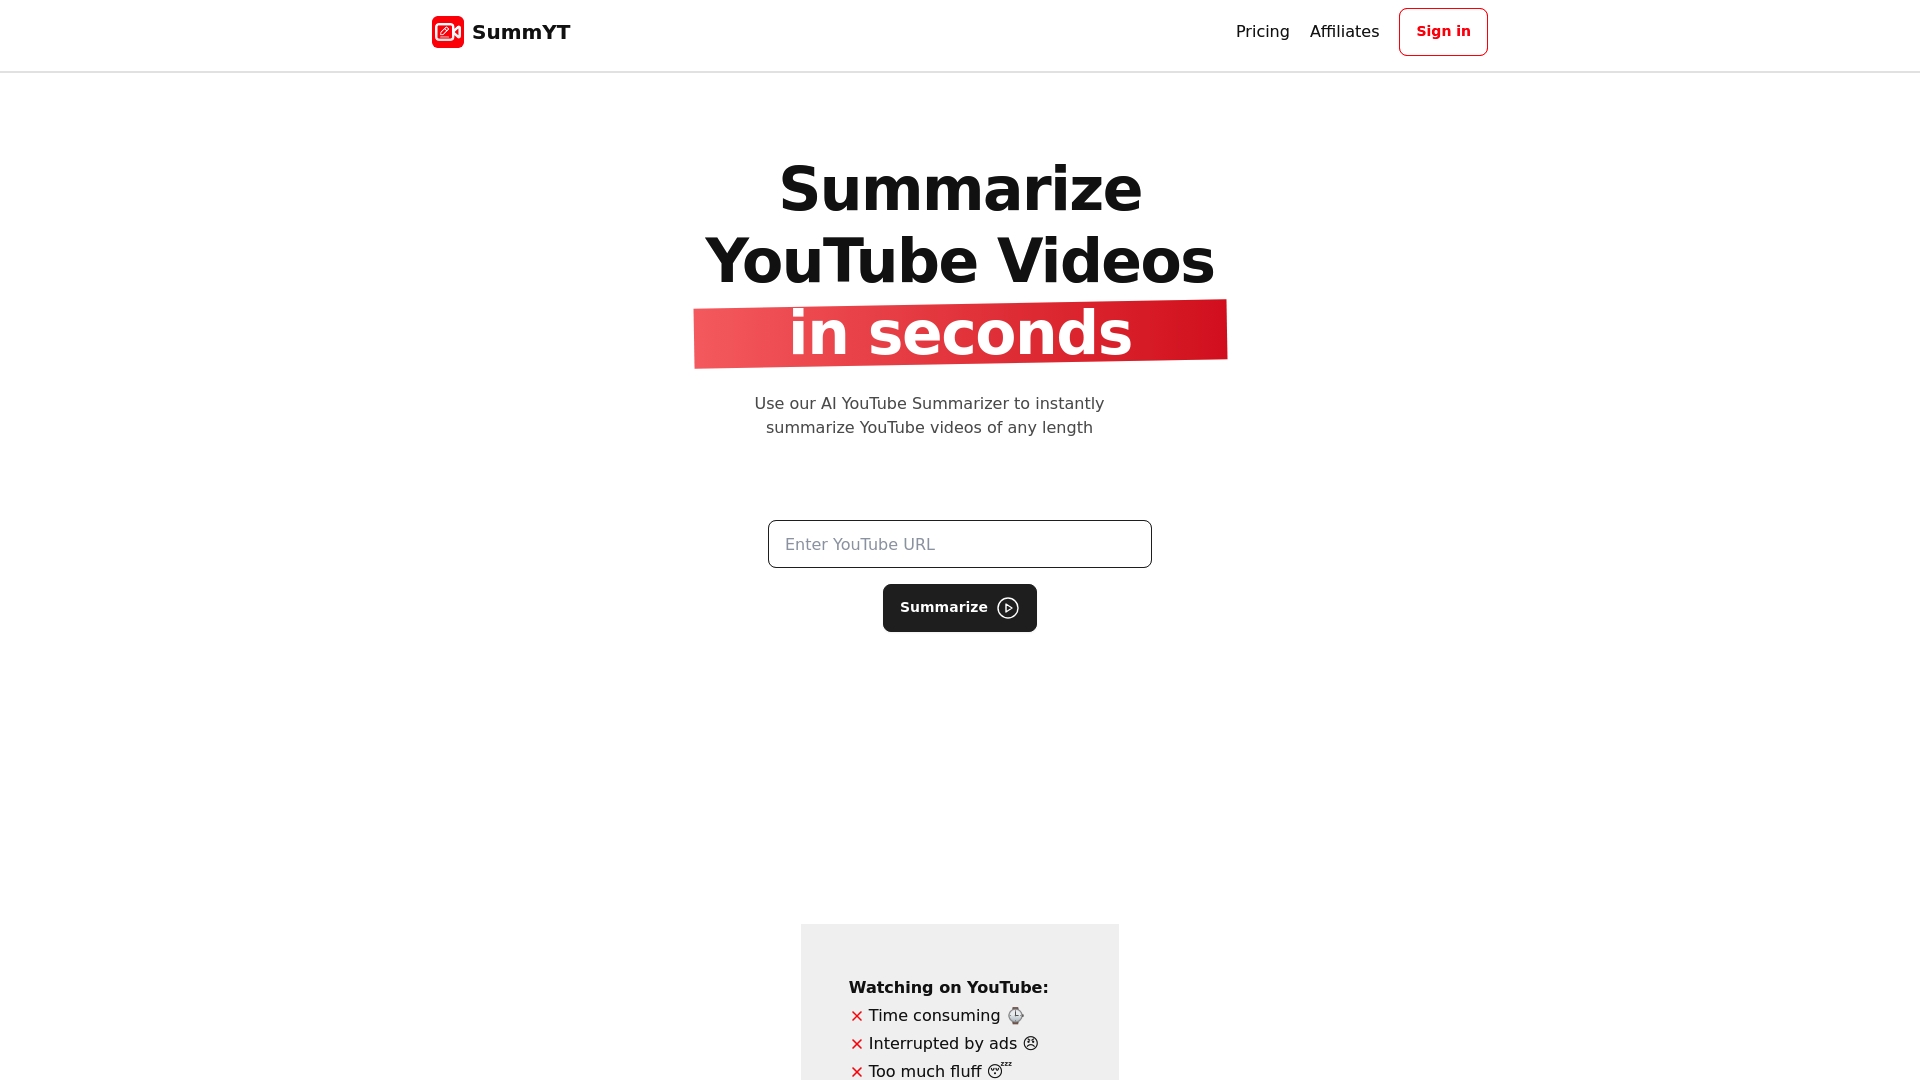
Save time, skip the tedious steps, and boost your productivity with SummYT. Our AI-powered platform instantly generates accurate summaries and key points from any YouTube video, eliminating the need for manual note-taking and endless rewatching. Whether you are a student, educator, researcher, or content creator seeking to streamline long video content, SummYT helps you focus on what matters most. Try it for free and experience unlimited summaries, multilingual support, and seamless integration across devices. Start your next project today at https://summyt.app and see how easy condensing videos can be.
Frequently Asked Questions
What are the key objectives for condensing long videos?
To effectively condense long videos, you should clarify your core objectives, such as creating learning resources, summarizing presentations, or generating marketing content. Each objective requires a tailored condensation strategy to enhance viewer engagement and message retention.
What tools are recommended for video editing when condensing content?
User-friendly tools like OpenShot and DaVinci Resolve are great for beginners, while Adobe Premiere Pro and Final Cut Pro X offer advanced features for experienced editors. Select software that aligns with your skill level and project requirements to simplify the editing process.
How do I ensure a smooth import process of my video into editing software?
Organize your files in a dedicated folder before importing, and use the import menu or drag-and-drop functions specific to your editing software. Ensure the imported video plays smoothly and check for resolution and audio synchronization issues to avoid complications during editing.
What are effective strategies for trimming unnecessary footage in a video?
Focus on removing elements that don’t contribute to your core message, such as long pauses or irrelevant tangents. Use intuitive trimming tools to mark and remove these segments, and ensure that your cuts maintain narrative continuity for a polished final product.